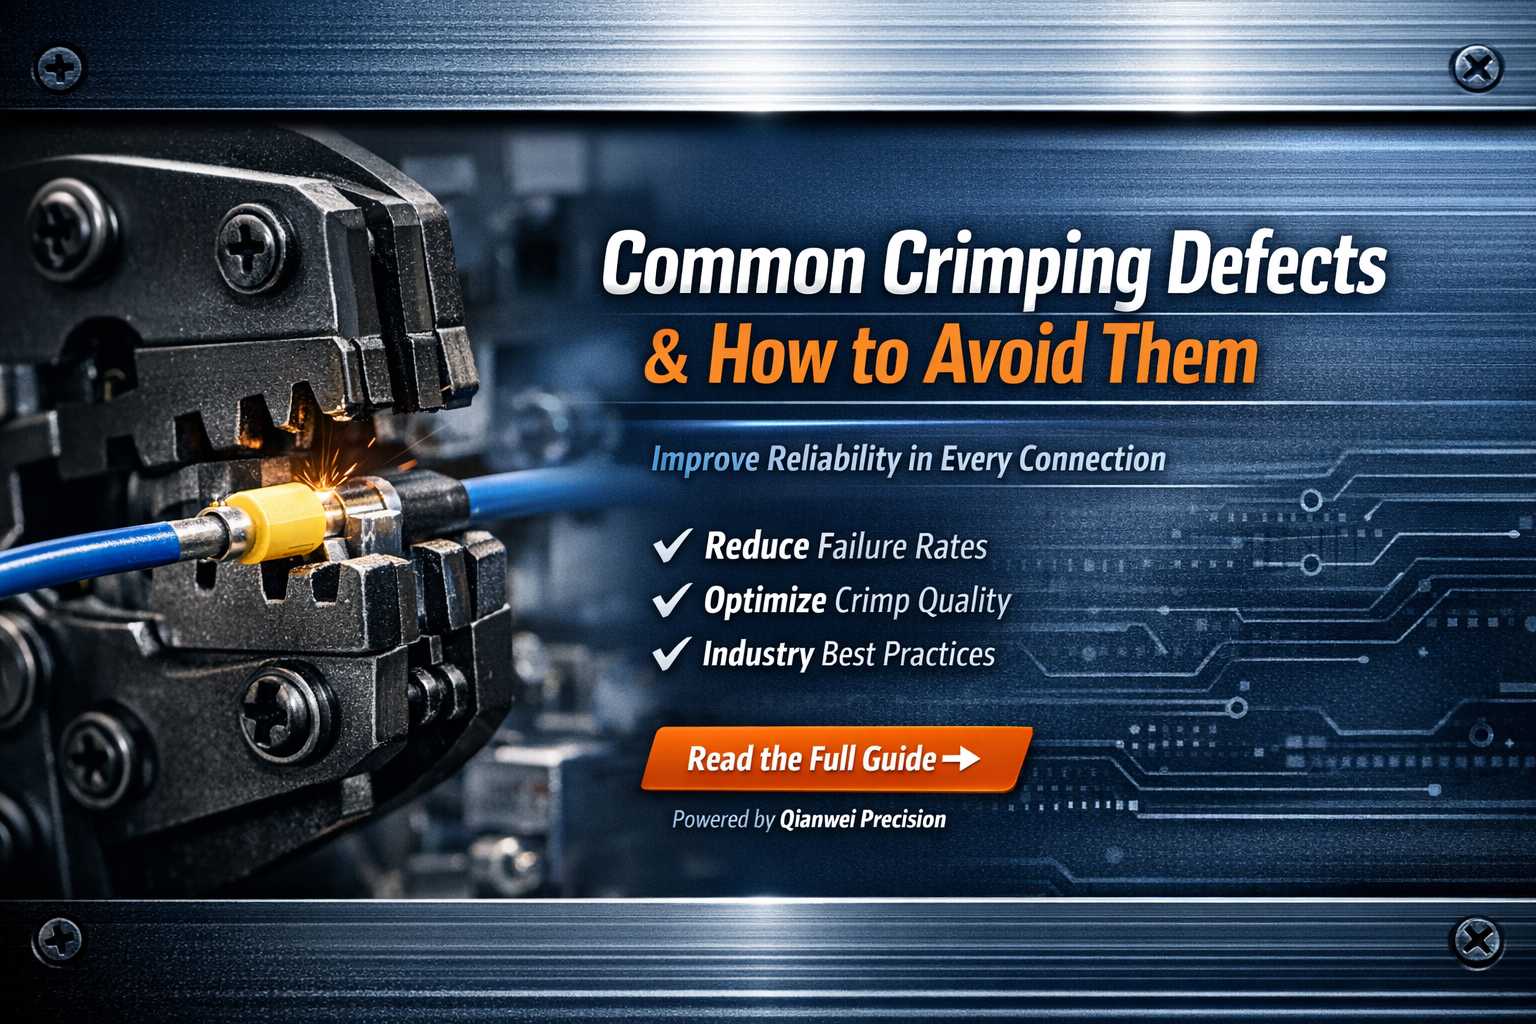
Crimping defects such as under-crimping, over-crimping, insulation damage, and incomplete wire insertion can lead to high resistance, weak connections, and even system failure. These issues are usually caused by improper tools, incorrect crimp height, or poor material selection—and can be prevented through proper tooling, process control, and quality inspection.
Why Crimp Quality Matters in Electrical Connections
Crimping may look simple, but in reality, it is one of the most critical steps in any electrical connection.
A properly executed crimp creates a gas-tight connection between the conductor and terminal. This ensures:
- Stable electrical conductivity
- Strong mechanical retention
- Long-term reliability under vibration and load
On the other hand, a poor crimp can result in:
- Increased resistance and overheating
- Intermittent connections
- Wire pull-out or complete failure
- Safety risks such as short circuits or fire
That’s why global standards like IPC/WHMA-A-620 emphasize strict crimp quality control.
Most Common Crimping Defects (And How to Fix Them)
1. Under-Crimping (Loose Crimp)
What happens:
The terminal is not compressed enough to securely hold the wire.
Why it happens:
- Crimp height set too high
- Incorrect die or tool
- Terminal too large for the wire
Risks:
- High electrical resistance
- Wire slipping out
- Intermittent failure
How to avoid it:
- Always verify crimp height with a micrometer
- Use matched terminals and wire gauges
- Regularly calibrate your crimping tools
2. Over-Crimping
What happens:
Too much force compresses and damages the conductor strands.
Why it happens:
- Excessive crimping force
- Incorrect tooling
Risks:
- Broken or weakened strands
- Reduced current-carrying capacity
- Premature failure
How to avoid it:
- Follow manufacturer crimp specifications
- Never “over-squeeze” the tool
- Use ratchet tools for consistent force
3. Insulation Damage
What happens:
The insulation barrel cuts or excessively deforms the wire insulation.
Why it happens:
- Wrong insulation crimp size
- Misalignment during crimping
Risks:
- Reduced strain relief
- Exposure to moisture or contaminants
- Shortened lifespan
How to avoid it:
- Choose terminals with proper insulation support
- Ensure correct positioning before crimping
- Perform visual inspections
4. Conductor Strand Damage
What happens:
Wire strands are cut or severely deformed.
Why it happens:
- Over-crimping
- Poor stripping technique
- Low-quality terminals
Risks:
- Reduced conductivity
- Increased heat generation
How to avoid it:
- Use precision wire strippers
- Avoid nicking strands
- Select high-quality terminals
5. Improper Bellmouth Formation
What happens:
The flare (bellmouth) at the terminal entry is too small or missing.
Why it matters:
A proper bellmouth prevents sharp edges from damaging the wire during insertion.
How to avoid it:
- Adjust crimp tooling correctly
- Use terminals designed with proper entry geometry
6. Incomplete Wire Insertion
What happens:
The wire does not reach the end of the terminal barrel.
Why it happens:
- Incorrect strip length
- Operator error
Risks:
- Weak mechanical strength
- Electrical instability
How to avoid it:
- Standardize stripping length
- Use visual inspection or automated detection systems
7. Flash or Burr Formation
What happens:
Excess metal protrudes after crimping.
Why it happens:
- Worn dies
- Poor terminal manufacturing quality
Risks:
- Short circuits
- Assembly interference
How to avoid it:
- Replace worn tooling
- Use precision-engineered terminals
Root Causes of Crimping Defects
Most crimping issues can be traced back to a few core problems:
- Incorrect crimp height settings
- Worn or mismatched tooling
- Incompatible wire and terminal selection
- Inconsistent operator technique
- Low-quality materials
Understanding these root causes allows you to fix problems at the source—not just the symptoms.

How to Ensure High-Quality Crimping
Achieving high-quality crimping is not about a single factor—it is the result of tooling accuracy, process control, material selection, and inspection discipline working together. Even minor deviations can lead to significant reliability issues over time.
Below is a systematic approach used by professional manufacturers to ensure consistent and defect-free crimping.
1. Use the Right Crimping Tools (Tooling Matching & Maintenance)
The foundation of a reliable crimp starts with the correct tooling.
Key Principles:
- Always use application-specific crimping tools (not universal tools)
- Ensure die geometry matches the terminal design
- Choose tools based on production volume:
- Manual ratchet crimpers → low volume, field work
- Pneumatic / automatic crimping machines → high-volume production
Critical Best Practices:
- Perform regular tool calibration (based on cycle count, not just time)
- Replace worn dies immediately—tool wear is a hidden defect source
- Maintain a tooling log system (traceability for quality audits)
👉 Insight: Inconsistent tooling is one of the top 3 root causes of crimp failure in mass production environments.
2. Control Crimp Height (The Most Critical Parameter)
Crimp height directly determines the compression ratio between conductor and terminal.
- Too high → loose crimp (high resistance)
- Too low → conductor damage (reduced conductivity)
How to Control It:
- Use a micrometer or digital crimp height gauge
- Follow terminal manufacturer specifications strictly
- Establish a crimp height tolerance range (not just a single value)
Advanced Practice:
- Implement SPC (Statistical Process Control):
- Monitor crimp height trends
- Detect variation before defects occur
👉 Insight: Crimp height is often called the “golden parameter” in crimping quality control.
3. Select Proper Terminal and Wire Materials
Material compatibility plays a crucial role in achieving a stable crimp.
Terminal Material Considerations:
- Electrolytic Copper → highest conductivity, ideal for power applications
- Brass → better mechanical strength
- Phosphor Bronze → excellent elasticity and fatigue resistance
Plating Matters Too:
- Tin plating → cost-effective, good corrosion resistance
- Nickel plating → high-temperature environments
Wire Considerations:
- Ensure correct wire gauge (AWG/mm²)
- Verify strand type (solid vs stranded) compatibility
👉 Insight: Even a perfectly executed crimp will fail if the material pairing is incorrect.
4. Standardize Wire Stripping Process
Wire preparation is often underestimated—but it directly affects crimp quality.
Common Stripping Issues:
- Nicked or cut strands
- Uneven strip length
- Deformed conductor
Best Practices:
- Use precision stripping machines or calibrated tools
- Define a standard strip length for each terminal type
- Ensure:
- No exposed conductor outside the crimp
- No insulation inside the conductor crimp area
Pro Tip:
Automate stripping for high-volume production to eliminate operator variability.
5. Ensure Proper Wire Insertion and Positioning
Even with perfect stripping, improper insertion can ruin the crimp.
What to Check:
- Conductor reaches the end of the terminal barrel
- Insulation is correctly positioned in the insulation crimp area
- No loose strands outside the barrel
How to Improve:
- Use wire positioning guides
- Implement poke-yoke (error-proofing) fixtures
- Add vision inspection systems in automated lines
6. Implement Multi-Level Quality Inspection
High-quality crimping always includes layered inspection methods:
1. Visual Inspection
- Check for:
- Proper crimp shape
- No cracks or burrs
- Correct insulation support
2. Pull Test (Mechanical Strength)
- Measures retention force between wire and terminal
- Must meet defined standards (based on wire size)
3. Crimp Height Measurement
- Continuous verification during production
4. Cross-Section Analysis (Advanced)
- Microscopic inspection of crimp compression
- Evaluates:
- Strand deformation
- Void ratio
- Contact integrity
👉 Insight: Cross-section analysis is widely used in automotive and aerospace industries for critical applications.
7. Apply Process Control and Documentation
Consistency is impossible without process discipline.
Key Actions:
- Define standard operating procedures (SOPs)
- Document:
- Crimp height
- Tool settings
- Wire and terminal specifications
- Use SPC charts to monitor process stability
Traceability System:
- Batch tracking of:
- Terminals
- Wires
- Tooling used
8. Train Operators and Reduce Human Error
Human factors remain a major variable in crimp quality.
Training Should Cover:
- Correct crimping techniques
- Tool usage and maintenance
- Defect identification
How to Improve Reliability:
- Certification programs (internal or IPC-based)
- Regular skill assessments
- Visual defect reference guides at workstations
9. Use High-Quality Terminals and Trusted Suppliers
No process can compensate for poor component quality.
High-quality terminals ensure:
- Consistent dimensions
- Smooth crimping surfaces
- Reliable plating thickness
Working with a professional manufacturer like Qianwei Precision helps ensure:
- Stable raw material sourcing
- Precision stamping and forming
- Strict QC standards
- Custom solutions for specific applications
👉 Insight: Many “process defects” are actually component quality issues in disguise.
Crimping Standards You Should Follow
To ensure global reliability, follow recognized standards:
- IPC/WHMA-A-620 – Industry benchmark
- UL standards – Safety compliance
- ISO quality systems – Process consistency
Manual vs Automatic Crimping: Which Is Better?
Manual Crimping
- Flexible and low-cost
- Operator-dependent
Automatic Crimping
- Highly consistent
- Ideal for mass production
- Lower defect rate
If you’re scaling production, automation significantly reduces variability.
Common Mistakes Beginners Make
- Using the wrong crimping tool
- Ignoring crimp height
- Skipping inspection steps
- Mixing incompatible terminals and wires
Avoiding these early mistakes can dramatically improve your product reliability.
Pro Tips to Improve Crimp Reliability
- Schedule regular tool calibration
- Train operators systematically
- Use high-quality terminals
- Document crimping parameters
- Apply statistical process control (SPC)
These practices are what separate average manufacturers from top-tier suppliers.
Why High-Quality Terminals Matter
Even with perfect technique, poor-quality terminals will still lead to defects.
High-quality terminals provide:
- Consistent material properties
- Precise dimensional tolerances
- Reliable plating and corrosion resistance
This is where working with a trusted manufacturer becomes critical.
Qianwei Precision focuses on:
- High-conductivity materials
- Precision stamping and forming
- Strict quality control systems
- Custom terminal solutions for different industries
For businesses aiming to reduce failure rates and improve long-term reliability, choosing the right supplier is just as important as the crimping process itself.
Conclusion
Crimping defects are not random—they are predictable and preventable.
By controlling:
- Tooling
- Materials
- Process parameters
- Inspection standards
You can significantly reduce failure rates and ensure reliable electrical performance.
In modern electrical systems, a good crimp is not optional—it’s essential.
FAQs
1. What is the most common crimping defect?
Under-crimping is the most common issue, leading to loose connections and high resistance.
2. How do I know if a crimp is good?
A good crimp passes pull tests, meets crimp height specifications, and shows no visible defects.
3. What is the correct crimp height?
It depends on the terminal and wire size, but must follow manufacturer specifications.
4. Can a bad crimp cause overheating?
Yes. Increased resistance from poor crimping generates heat and can lead to failure.
5. What tools are best for crimping terminals?
Ratchet crimpers and automated crimping machines provide the most consistent results.
6. How often should crimp tools be calibrated?
Regularly—typically based on usage cycles or production volume.
7. What happens if a wire is over-crimped?
The conductor strands may break, reducing electrical and mechanical performance.
8. Is soldering better than crimping?
Not necessarily. Crimping is often more reliable in high-vibration environments.
9. What materials are best for terminals?
Electrolytic copper offers the best conductivity, while brass and phosphor bronze provide strength and durability.
10. How do I reduce crimping defects in mass production?
Use automated equipment, standardize processes, and implement strict quality control systems.

