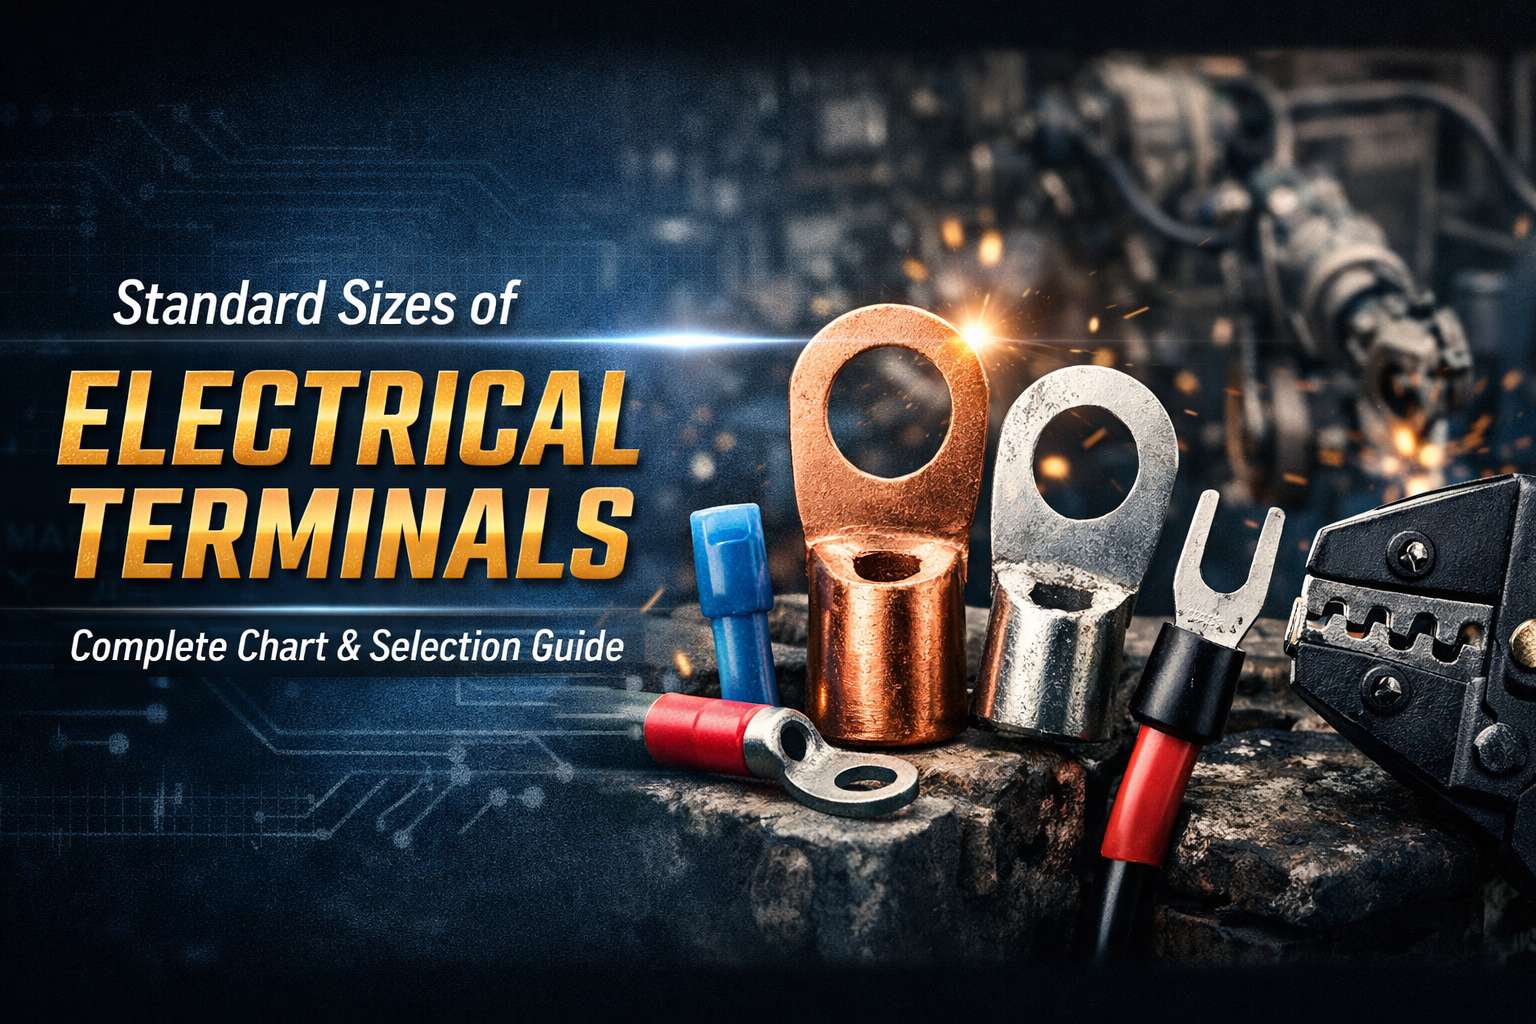
Standard electrical terminal sizes are defined by wire gauge (AWG or mm²), stud size (M3–M12+), and barrel dimensions. Choosing the correct combination ensures low resistance, secure mechanical connection, and long-term reliability in any electrical system.
Why Electrical Terminal Size Matters
Electrical terminals may look simple, but their sizing directly impacts performance, safety, and lifespan.
- Electrical efficiency: Incorrect sizing increases contact resistance → heat buildup → energy loss
- Mechanical integrity: A loose or over-compressed crimp leads to failure under vibration
- Safety compliance: Improper sizing can violate standards and cause fire risks
In high-current applications—such as EV systems, battery packs, or industrial distribution—the wrong terminal size isn’t just inefficient; it’s a liability.
Common Types of Electrical Terminals
Before diving into sizing, it’s important to understand the major terminal types, since sizing conventions apply differently.
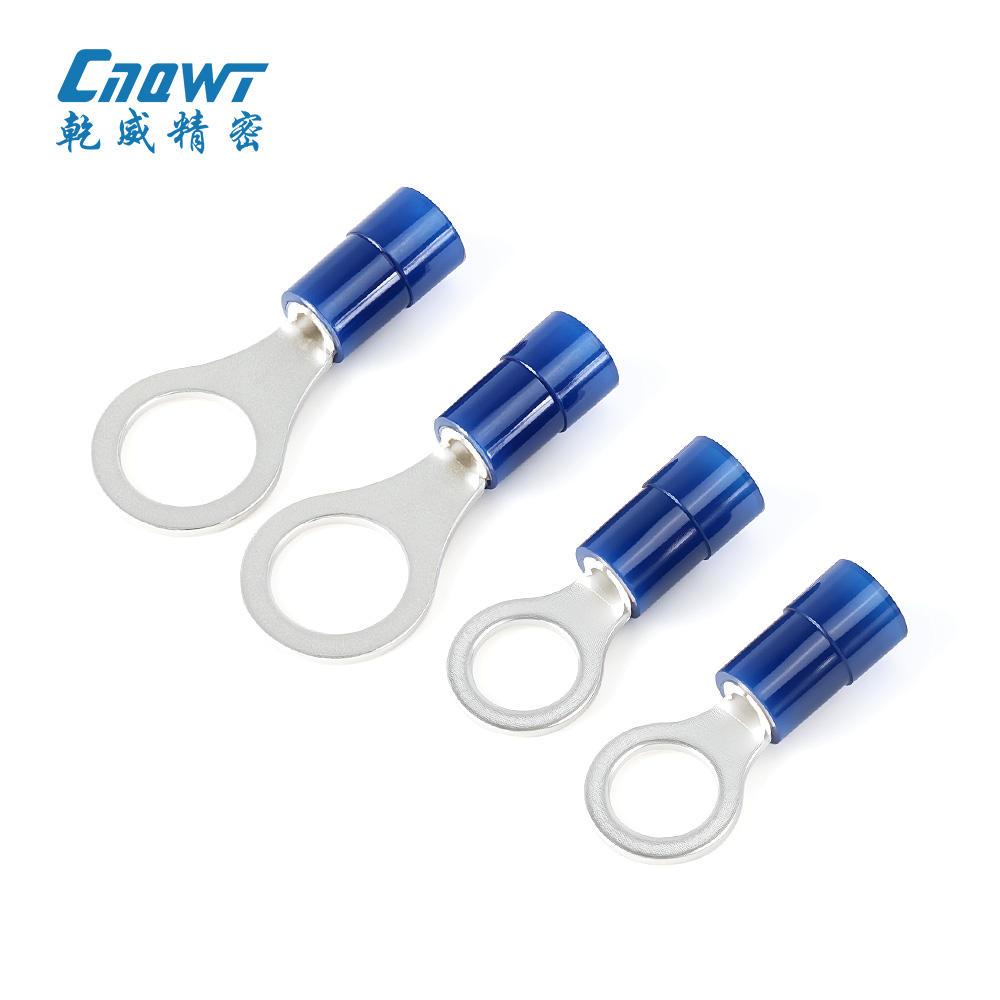
Ring Terminals
- Designed for secure, vibration-resistant connections
- Used in automotive, industrial, and power systems
- Sized by wire gauge + stud diameter
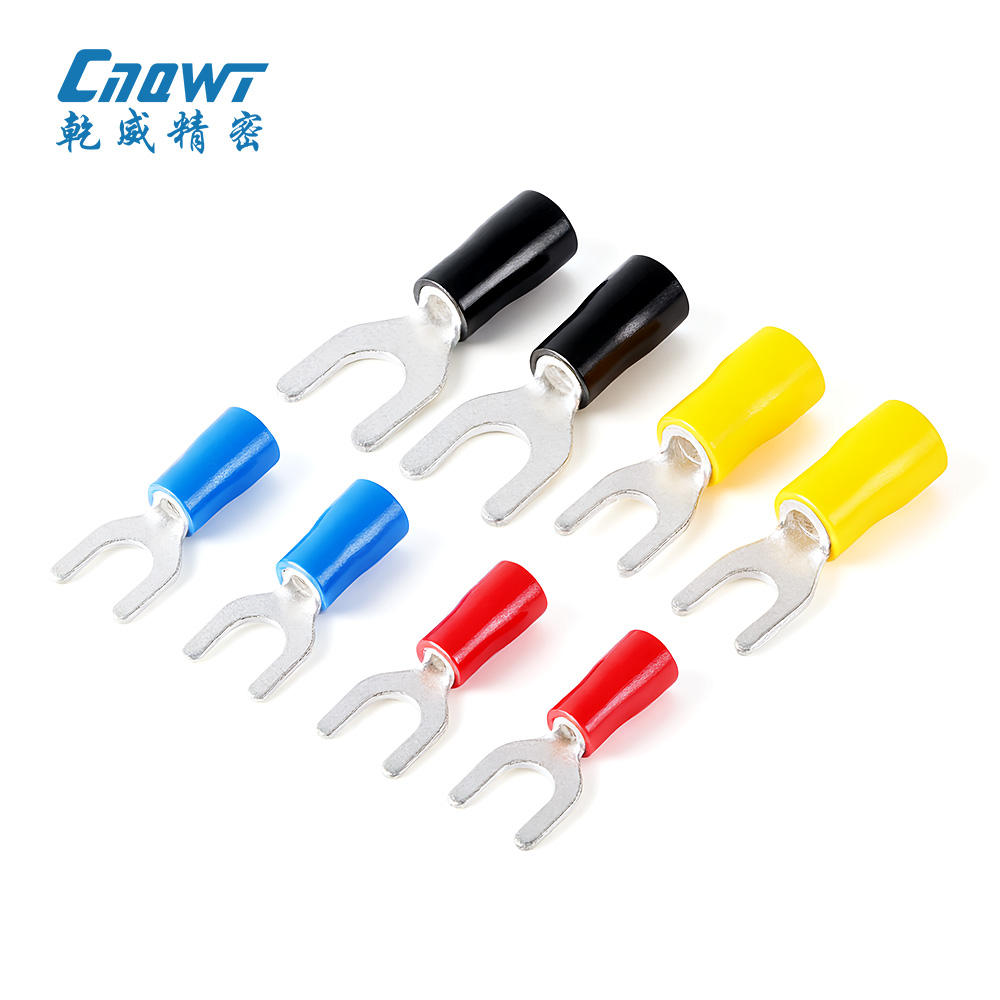
Spade (Fork) Terminals
- Easier to install/remove than ring terminals
- Ideal for maintenance-heavy applications
 Butt Connectors
- Used for wire-to-wire connections
- Focus on wire gauge matching, no stud size involved
Pin Terminals
- Used for insertion into terminal blocks
- Sized primarily by conductor cross-section
Understanding Terminal Size Standards
Terminal sizing is not a single dimension—it’s a combination of three critical parameters.
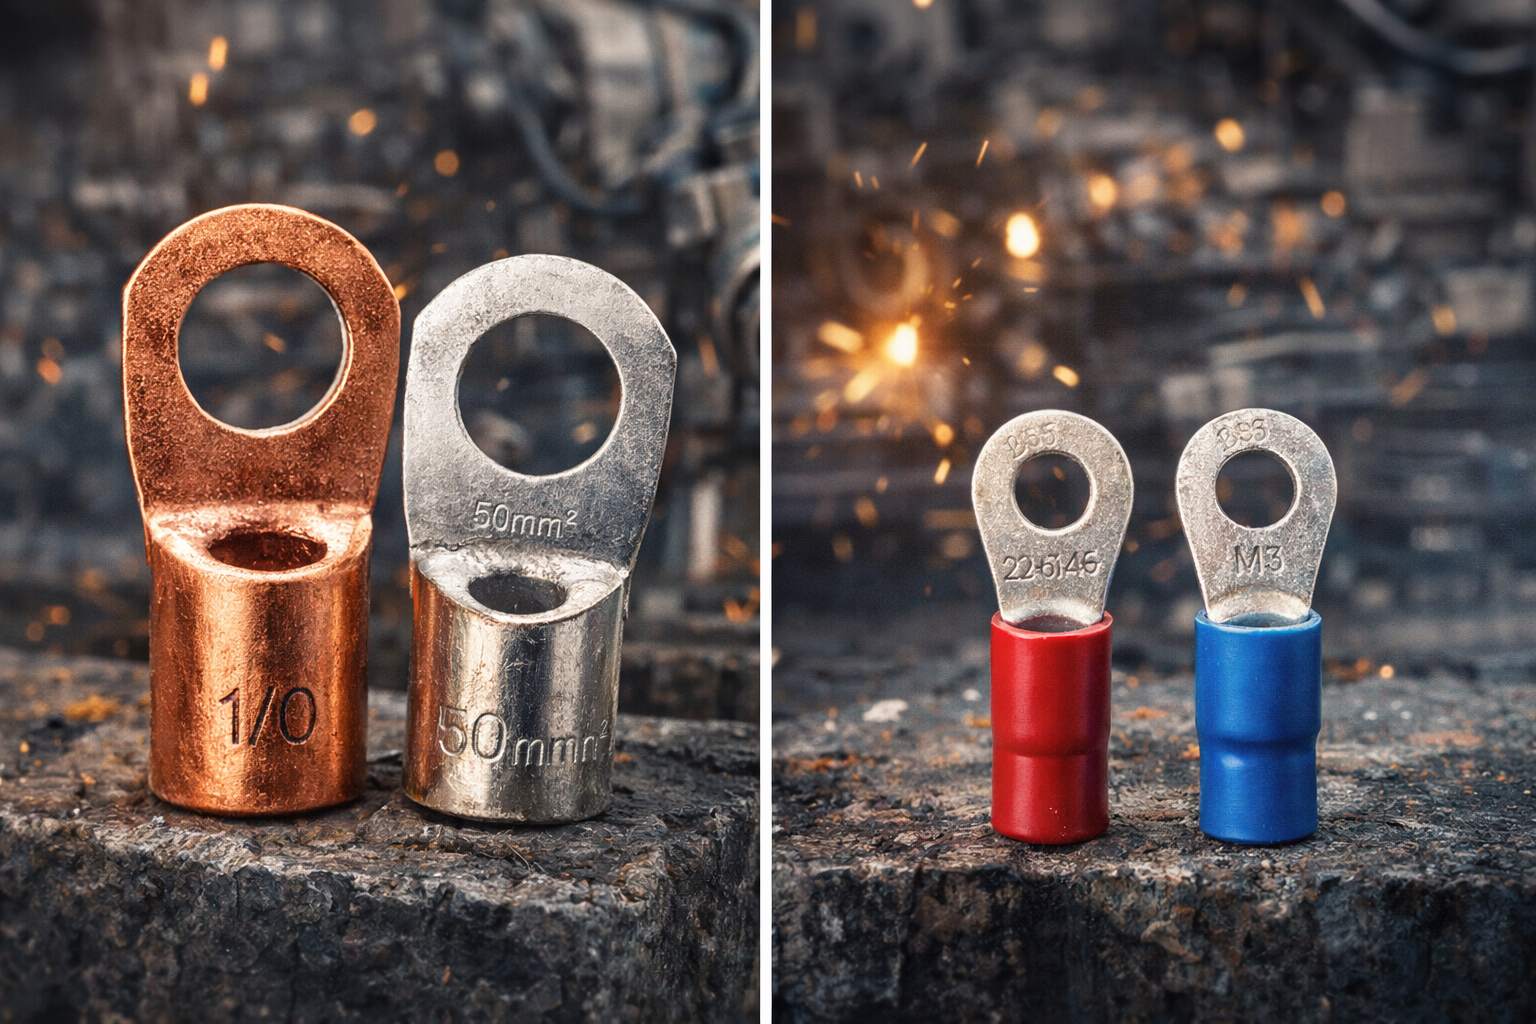
1. Wire Size (AWG vs mm²)
Wire size determines how much current a conductor can safely carry.
- AWG (American Wire Gauge): Common in North America
- mm² (Metric): Used globally (IEC standard)
| AWG | mm² | Typical Use |
|---|---|---|
| 22–18 | 0.5–1.0 | Control circuits |
| 16–14 | 1.5–2.5 | Appliances |
| 12–10 | 4–6 | Automotive |
| 8 | 10 | Power systems |
| 4–2 | 25–35 | Industrial |
| 1/0–4/0 | 50–120 | High current |
👉 Key principle:
The terminal barrel must match the conductor size precisely for proper crimping.
2. Stud Size (Bolt Size)
The stud size defines the diameter of the connection point.
Common metric sizes:
- M3, M4 → small electronics
- M5, M6 → appliances & automotive
- M8, M10 → industrial & power
- M12+ → heavy-duty systems
If the stud hole is:
- Too large → poor contact
- Too small → installation impossible
3. Barrel Size (Crimp Area)
The barrel is where the wire is crimped.
Critical factors:
- Inner diameter must match conductor
- Wall thickness affects crimp strength
- Length impacts pull-out resistance
👉 A well-designed barrel ensures:
- Full strand compression
- Minimal air gaps
- Maximum conductivity
Electrical Terminal Size Chart
Below is a practical reference chart combining wire size, stud size, and application.
| Wire Size (AWG) | mm² | Stud Size | Application |
|---|---|---|---|
| 22–16 | 0.5–1.5 | M3–M4 | Control panels |
| 16–14 | 1.5–2.5 | M4–M5 | Appliances |
| 12–10 | 4–6 | M5–M6 | Automotive wiring |
| 8 | 10 | M6–M8 | Power distribution |
| 4–2 | 25–35 | M8–M10 | Industrial equipment |
| 1/0–4/0 | 50–120 | M10–M12 | Battery / energy systems |
How to Choose the Right Terminal Size (Step-by-Step)
Selecting the correct terminal size is a multi-variable engineering decision, not just a quick match of wire and connector. The goal is to achieve optimal electrical conductivity, mechanical strength, and long-term reliability under real operating conditions. Below is a structured, field-proven workflow.
Step 1: Accurately Identify Wire Size
Start with the conductor—not the terminal.
- Confirm whether the wire is specified in AWG or mm²
- Verify if it is solid or stranded (stranding affects crimp behavior)
- Check for tolerance variations (especially in flexible cables)
Best practice:
- Use a caliper or refer to supplier datasheets
- Avoid assumptions—misidentification leads to immediate mismatch
👉 Engineering insight:
Even a 0.5 mm² deviation can significantly affect crimp compression ratio and pull-out force.
Step 2: Define the Electrical Load (Current & Voltage)
Terminal sizing must align with actual operating current, not just wire size.
Evaluate:
- Continuous current rating
- Peak or surge current
- Voltage level (affects insulation requirements)
Why it matters:
- Undersized terminals → overheating, oxidation, failure
- Oversized terminals → poor contact, increased resistance
👉 Rule of thumb:
Always design with a safety margin (typically 20–30%) above expected load.
Step 3: Match the Stud / Connection Point Size
The terminal’s hole must match the mating stud or bolt precisely.
Typical mapping:
- M4 / M5 → light-duty equipment
- M6 / M8 → automotive & industrial
- M10+ → high-current systems
Check:
- Hole diameter tolerance
- Contact surface area
- Mounting torque requirements
👉 Critical detail:
A larger hole does not mean better compatibility—it reduces effective contact area and increases micro-resistance.
Step 4: Select the Correct Barrel Type and Dimensions
The barrel is where electrical integrity is established.
Key parameters:
- Inner diameter (must match conductor bundle)
- Barrel length (affects crimp stability)
- Wall thickness (affects deformation behavior)
Types to consider:
- Standard barrel → general applications
- Long barrel → high vibration environments
- Heavy-duty barrel → high current / industrial
👉 Engineering insight:
A properly filled barrel ensures 100% strand compression, eliminating air gaps that cause oxidation.
Step 5: Consider Material and Plating
Material selection directly affects conductivity and durability.
Common options:
- Copper: best conductivity
- Tinned copper: corrosion resistance
- Brass: higher mechanical strength, lower conductivity
Evaluate based on:
- Environmental exposure (humidity, salt spray)
- Temperature range
- Lifecycle expectations
Step 6: Evaluate Operating Environment
Real-world conditions often dictate the final choice.
Consider:
- Vibration (automotive, machinery)
- Temperature extremes
- Chemical exposure
- Outdoor vs indoor use
Example:
- Marine → tinned copper + sealed terminals
- High-temp → thick-wall, high-strength terminals
Step 7: Verify Crimping Tool Compatibility
Even the perfect terminal fails with improper crimping.
Check:
- Tool type (manual, hydraulic, automated)
- Die profile (hex, indent, etc.)
- Compression ratio
Validation methods:
- Pull-out force test
- Cross-section analysis
- Visual inspection (no cracks, full compression)
👉 Key takeaway:
Crimp quality is as important as terminal size—treat them as a system.
Step 8: Check Compliance and Standards
Ensure the selected terminal meets required certifications:
- UL / IEC / DIN standards
- Application-specific requirements (automotive, energy, etc.)
This is especially critical for:
- Export products
- High-reliability industries
Step 9: Prototype and Test Before Mass Production
Never skip validation.
Recommended tests:
- Electrical resistance test
- ताप rise test (heat generation)
- Mechanical pull test
- Environmental testing (if applicable)
Step 10: Consider Customization for Non-Standard Needs
If your application involves:
- Non-standard wire sizes
- Space constraints
- High current density
- Special materials
Standard terminals may not be sufficient.
In such cases:
- Optimize barrel geometry
- Adjust thickness
- Customize plating or materials
Practical Selection Summary
To choose the right terminal size, always align these five elements:
- Wire size
- Current load
- Stud size
- Environment
- Crimping method
If any one of these is mismatched, the entire connection is compromised.
Pro Tip (From Manufacturing Perspective)
Experienced manufacturers often see failures not because of poor materials—but because of incorrect size selection and crimp mismatch.
Working with a supplier that offers:
- Engineering support
- Custom tooling
- Application-based recommendations
can significantly reduce failure rates and improve product reliability.
Common Mistakes When Selecting Terminal Sizes
1. Using Oversized Terminals
- Leads to loose crimp
- Causes high resistance
2. Using Undersized Terminals
- Difficult insertion
- Damaged strands
- Overheating risk
3. Ignoring Stud Size
- Poor contact area
- Mechanical instability
4. Mixing AWG and Metric Incorrectly
- Common in global sourcing
- Leads to mismatch and failures
Industry Standards for Terminal Sizes
Reliable terminals comply with international standards:
- UL 486A/B – Safety for wire connectors
- IEC 61238 – Compression connectors
- DIN standards – European specifications
Compliance ensures:
- Tested performance
- Global compatibility
- Buyer confidence
Standard vs Custom Terminal Sizes
When Standard Sizes Work
- General wiring applications
- Off-the-shelf installations
- Cost-sensitive projects
When You Need Custom Terminals
Custom solutions are essential when:
- Wire size is non-standard
- Space constraints exist
- High current or special environments are involved
- Specific plating or materials are required
Why Customization Is Increasing
With the rise of:
- Electric vehicles
- Energy storage systems
- Renewable energy
Standard terminals often fall short.
Engineers now require:
- Precise tolerances
- Specialized materials
- Application-specific designs
Qianwei Precision: Your Partner for Standard & Custom Terminals
At Qianwei Precision, we go beyond standard catalogs.
What We Offer:
- Full range of standard electrical terminal sizes
- Advanced custom terminal design capabilities
- Over 1800+ production tooling sets
- Rapid tooling modification and development
Manufacturing Strength:
- High-precision stamping
- Automated production lines
- Strict quality control systems
Why Customers Choose Qianwei:
- Consistent dimensional accuracy
- Reliable conductivity performance
- Fast response for custom projects
Whether you need mass-produced standard terminals or high-performance custom solutions, Qianwei ensures optimal fit, performance, and durability.
Conclusion
Choosing the correct electrical terminal size is not just a technical detail—it’s a critical factor in system reliability, safety, and efficiency.
By understanding:
- Wire size
- Stud size
- Barrel design
You can ensure a secure and high-performance electrical connection.
As applications become more demanding, working with an experienced manufacturer like Qianwei Precision gives you a competitive edge in both quality and speed.
Contact Us Right Now
Looking for the right terminal solution?
Contact Qianwei Precision today and ensure your electrical connections are built for performance and reliability.
FAQs
1. What are standard electrical terminal sizes?
They are defined by wire gauge (AWG/mm²), stud size, and barrel dimensions.
2. How do I match terminal size with wire gauge?
Choose a terminal specifically rated for your wire size—never oversize.
3. What happens if the terminal is too big?
It results in a weak crimp and increased electrical resistance.
4. What is the difference between AWG and mm²?
AWG is a logarithmic scale; mm² is a direct cross-sectional measurement.
5. Are terminal sizes universal?
No. Standards vary by region (UL, IEC, DIN).
6. How do I measure stud size?
Measure the bolt diameter (e.g., M6 = 6mm).
7. Can one terminal fit multiple wire sizes?
Only within a specified range—beyond that, performance drops.
8. What is the most common terminal size?
16–14 AWG with M4/M5 stud is widely used.
9. Do terminal sizes affect current capacity?
Yes—directly. Incorrect sizing increases resistance and heat.
10. When should I use custom terminals?
When standard sizes cannot meet performance, space, or environmental requirements.

